Step 1 – Install & activate the plugin
Install & activate the plugin as you would any normal plugin. If in doubt – check out the the plugin installation article in the WordPress Codex.
Step 2 – Confirming that carts are being tracked
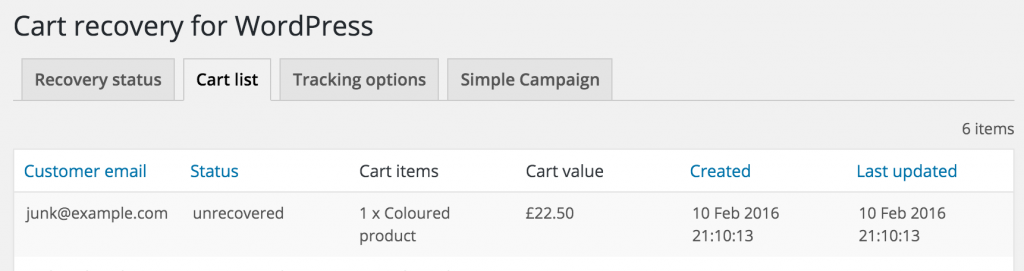
Cart recovery for WordPress will show up in your WordPress admin area as “Cart recovery”. The plugin will start tracking visitors at checkout straight away. As soon as a customer has visited checkout and provided their email address they’ll show up in the admin area on the “Cart list” tab:
Step 3 – Checking your campaign details
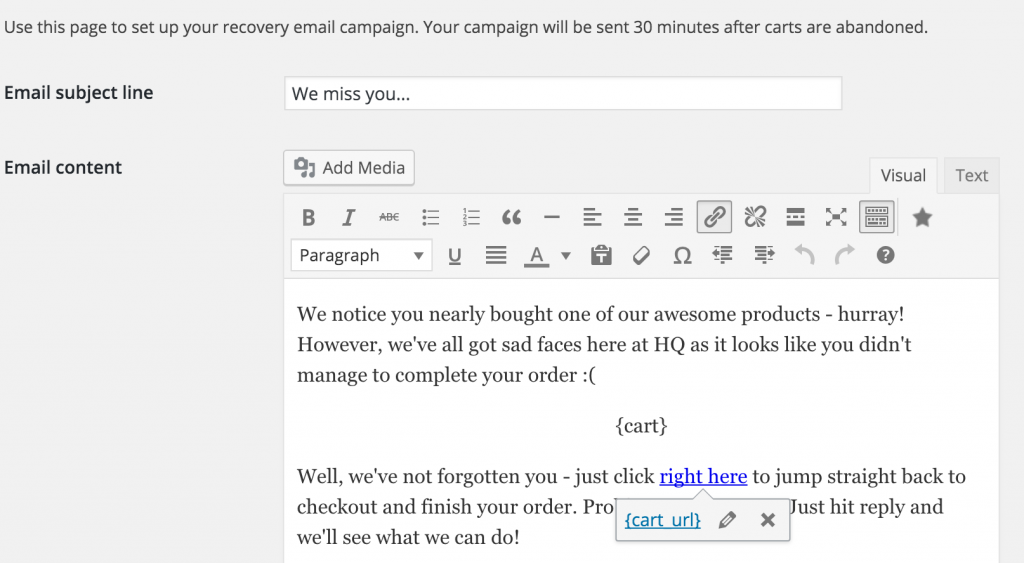
The “Simple campaign” tab will let you choose when to send your email, and what the email should say. The default email content includes a number of tags that will be replaced with dynamic information based on the customer, and cart contents. You can see the full list of available tags in this support article.
Step 4 – Activating email campaigns
Once carts are being tracked the plugin will check that successful orders are being captured. No-one wants to send recovery emails to customers who completed their order!
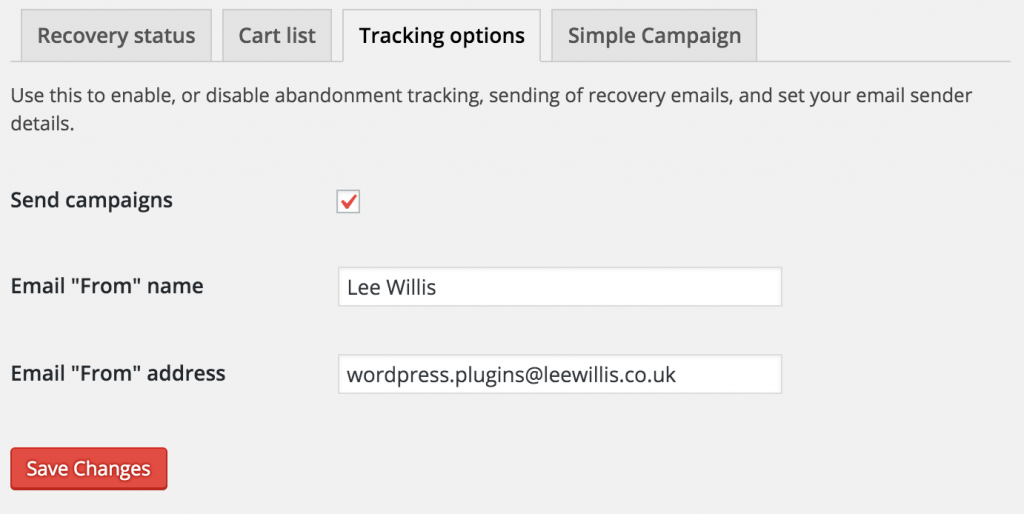
Until a successful order has been placed, you won’t be able to activate your email campaign. As soon as you have, and you’re happy with your campaign content – then simply enable campaigns by ticking the option in the plugin settings. You can also override your “From” address, and email on this page:
Leave a Reply